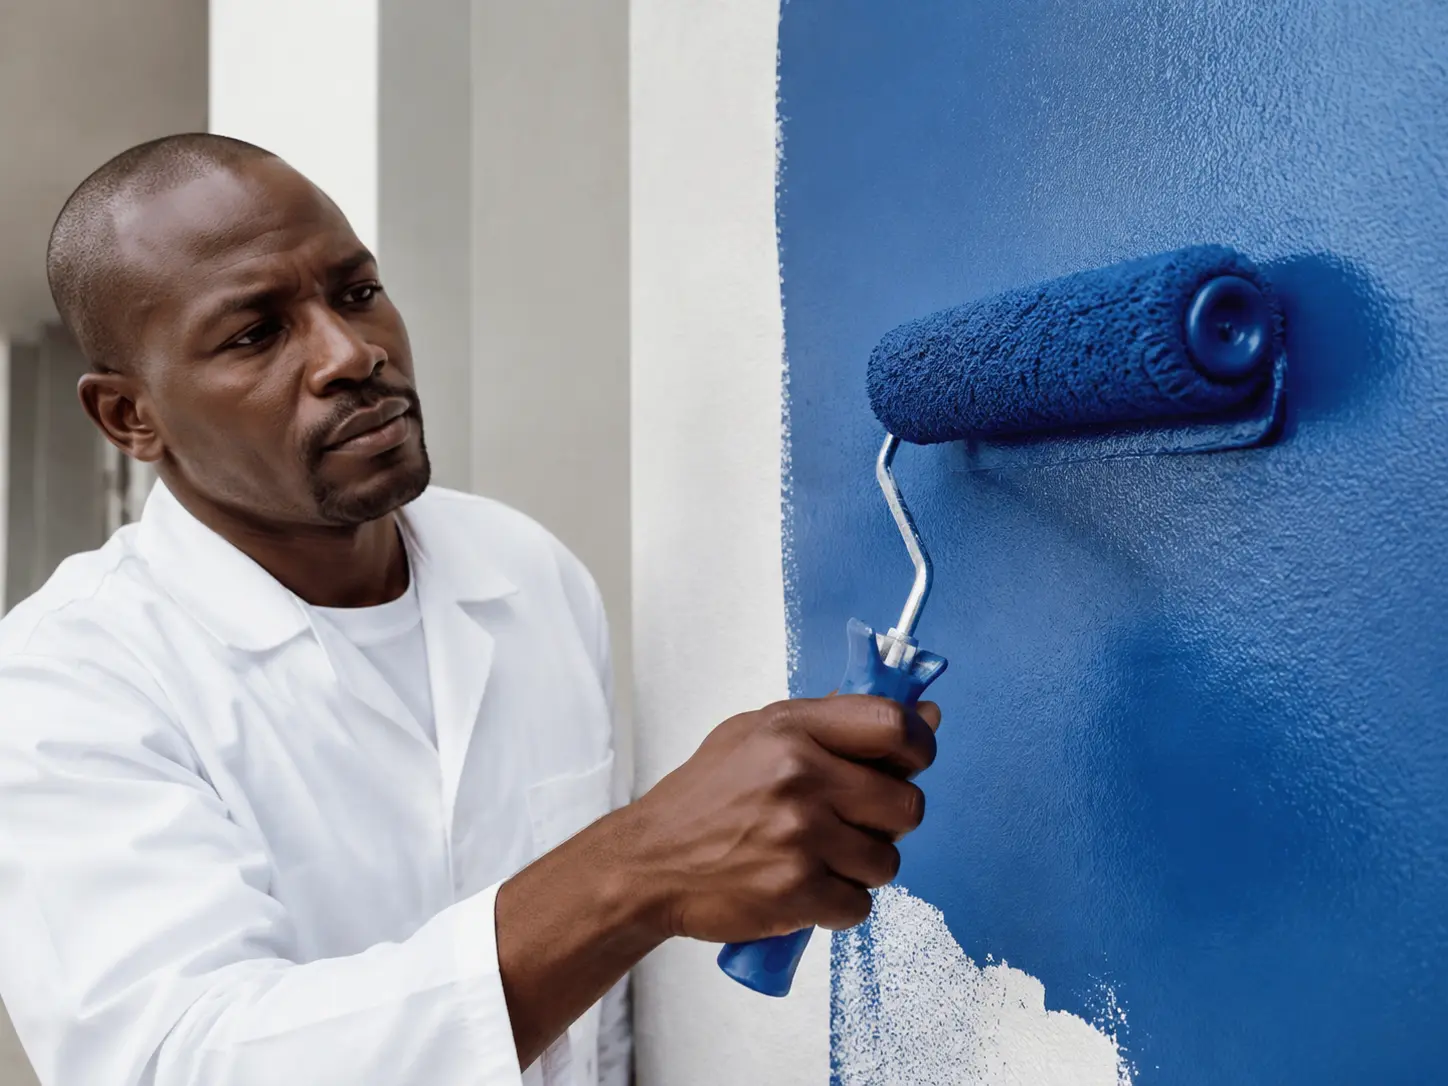
The practical answer.
A professional finish needs a wall that is clean, dry, sound and correctly primed. Painting over dust, damp, loose paint or untreated repairs only hides the problem temporarily.
Step by step
What to do
Inspect the whole wall
Look for damp marks, cracks, loose paint, powdery areas, mould, grease and previous repair patches. Mark every defect before starting.
Fix the cause
Repair leaks, water entry and movement before coating. Paint cannot permanently repair a structural or moisture problem.
Remove weak material
Scrape off loose or flaking paint and sand hard edges smooth. Continue until the remaining coating is firmly bonded.
Clean thoroughly
Remove dust, dirt, grease and surface contamination with the cleaning method suitable for that substrate. Let the wall dry fully.
Repair and smooth
Fill suitable cracks and defects, allow repairs to cure, then sand them level. Remove all sanding dust.
Prime the correct areas
Prime new plaster, porous repairs, chalky surfaces or difficult substrates with the preparation product specified for that condition.
Check before topcoating
The surface should be dry, stable, evenly prepared and free of dust. Only then should the finish coats begin.
Before you paint
Checklist
- Moisture source repaired
- Loose paint removed
- Surface clean and dry
- Repairs cured and sanded
- Correct primer selected
- Dust removed before painting
Avoid these
Common mistakes
- Painting directly over chalking or dust
- Using filler to hide active cracks
- Skipping primer on new or patchy plaster
- Applying the topcoat before repairs have dried