The practical answer.
Do not start by painting the stain. First identify whether the moisture comes from rising damp, a plumbing or roof leak, rain penetration, failed waterproofing or condensation. The correct repair and coating system depends on that diagnosis.
Step by step
What to do
Read the pattern
Damp low on a wall, isolated ceiling stains, wet corners and widespread surface mould point to different possible causes. The pattern is evidence, not a final diagnosis.
Check active water sources
Inspect plumbing, gutters, roof details, exterior cracks, ground levels and waterproofing. Use a qualified specialist where the source is uncertain.
Stop the moisture
Repair the leak, drainage, waterproofing or ventilation problem first. A coating should not be used to conceal active water entry.
Remove failed material
Once safe to proceed, remove loose paint, damaged plaster, salts, mould residue and contamination using the method specified for the surface.
Allow and verify drying
Drying time varies with the wall, weather and moisture source. Do not judge readiness from the surface appearance alone when deeper moisture may remain.
Specify the treatment system
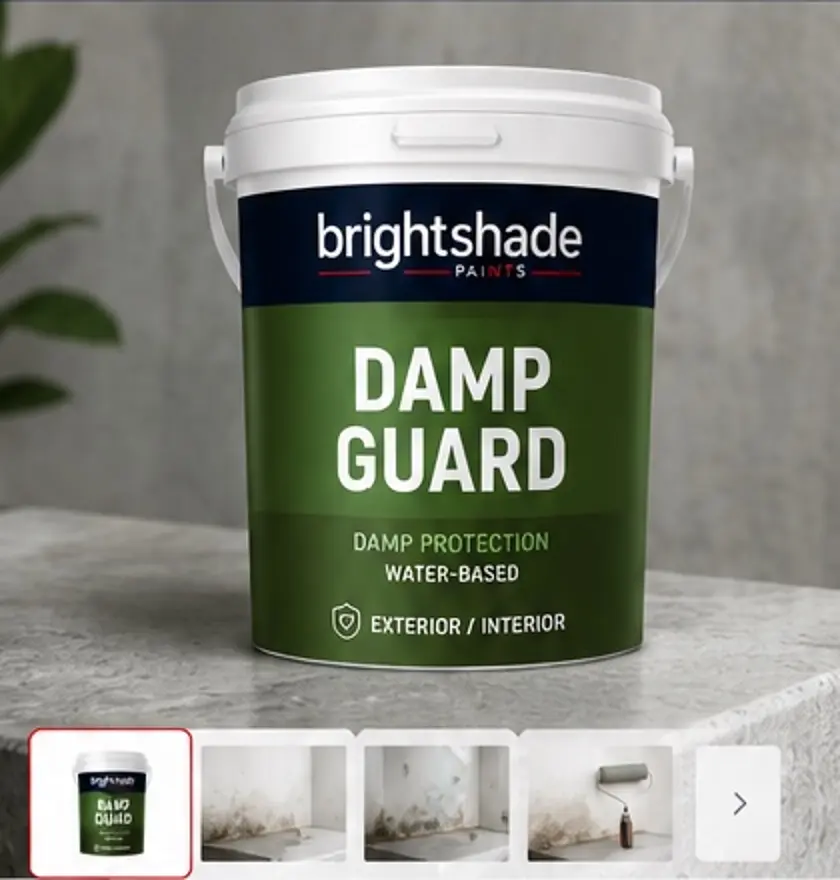
Choose DampGrip, DampVolt, Damp Guard or another system only after confirming the substrate, moisture condition and compatibility.
Monitor after completion
If staining, salts, bubbling or mould returns, stop recoating and investigate the unresolved cause.
Before you paint
Checklist
- Moisture source identified
- Leak or water entry repaired
- Mould and salts treated correctly
- Loose material removed
- Substrate condition confirmed
- Correct damp system specified
Avoid these
Common mistakes
- Painting directly over a damp stain
- Using bleach alone as the full repair
- Sealing active moisture without diagnosis
- Assuming every damp mark is rising damp